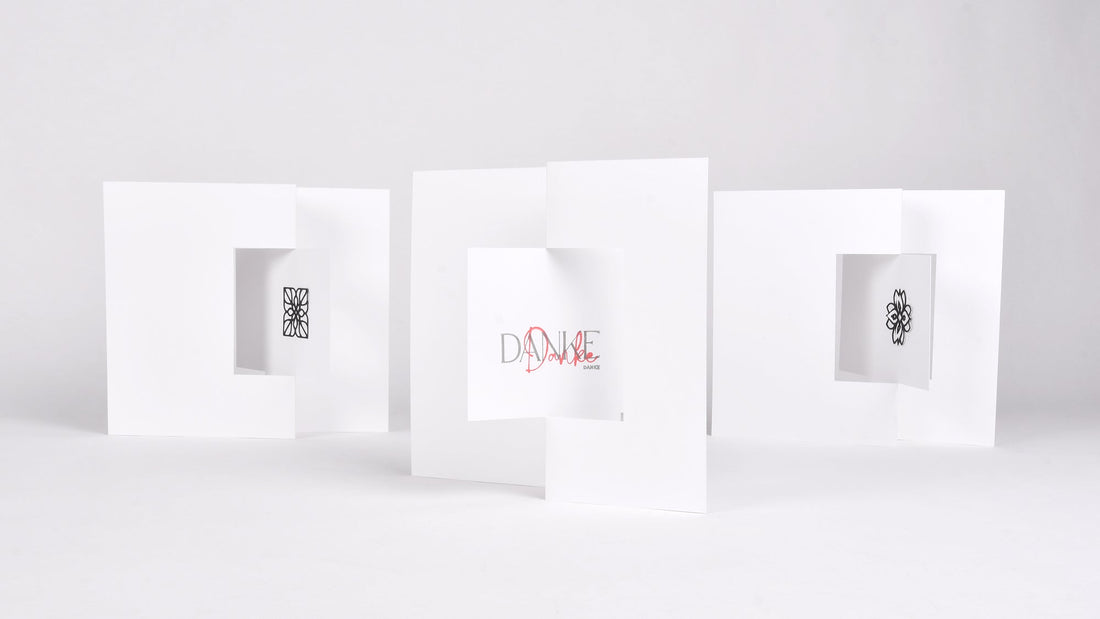
Today we will show you how you can easily make a fascinating swinging card.
This card has a movable element in the middle that swings back and forth when the card is pulled apart and pushed together. This technique allows both sides of the card to be used, which gives the card a real surprise effect.
What do you need for this?
Material:
-
1x sheet of design paper
-
More design papers for decorating
Tool:

Step 1
Cutting and folding design paper
Cut the design paper to a size of 22.5 cm x 15 cm . Place the paper with the long side facing you. Measure a height of 3.7 cm from the top and bottom at 7.5 cm and 11.2 cm and mark the point with a pencil.
Now place the paper with the long side on your folding board and fold at 7.5 cm and 11.2 cm from the edge to the marked points.


Step 2
Cutting out the vibrating element
Now mark the cutting lines for the flaps that should swing back and forth at the end.
Using a set square, draw 3.7 cm long lines outwards from the marked points. Connect the ends of these lines on the left and right with another vertical line.
Now cut out the flaps along the marked lines.


Step 3
Fold and finish the card
Fold the card from left to right along the drawn fold lines.
The left flap remains flat.


Fold the paper back again and fold it from right to left along the drawn fold line.
The right flap remains here. Use the bone folder to trace both fold lines.


Open the paper again and now push the paper from the left and right towards the middle. The middle part, our two flaps, will now slowly turn over. The back of the paper will then be visible in the window that has been created.
Continue sliding the paper until the card is flat again.


If the card is pulled apart again and placed in the other If folded in the opposite direction, you get the same effect on the back of the card.
Congratulations, your swinging card is finished!
You can now decorate both sides of the card with additional design paper.


We hope you enjoy crafting.
From us to you ⭐
Alexandra & Graphics Team
The instructions are subject to the Angel Policy of alexandraRenke.
This can be read at www.alexandra-renke.com.
Alexandra Renke
51503 Rösrath, Germany
© alexandra-renke.com
All rights reserved.