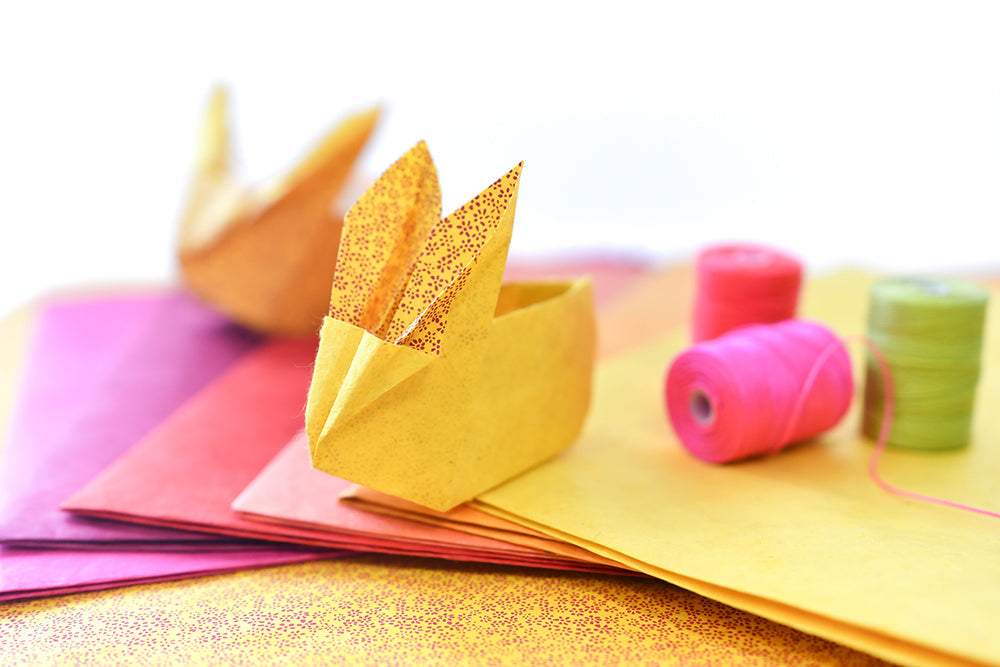
Such a cute bunny and it comes packed full of treats and lovely things. A great little surprise for Easter, not just for children.
We'll show you how the bunny moves into your home here:
Material :
- 1 sheet of paper * (cut 15 x 15 cm)
Tool :
- Bone Folder
- Cutting and folding board or scissors
*We use Nepal paper for our example, but you can also use our cardstock or glossy paper . The classic design paper could be more difficult to fold in this size due to the grammage.

And here we go!
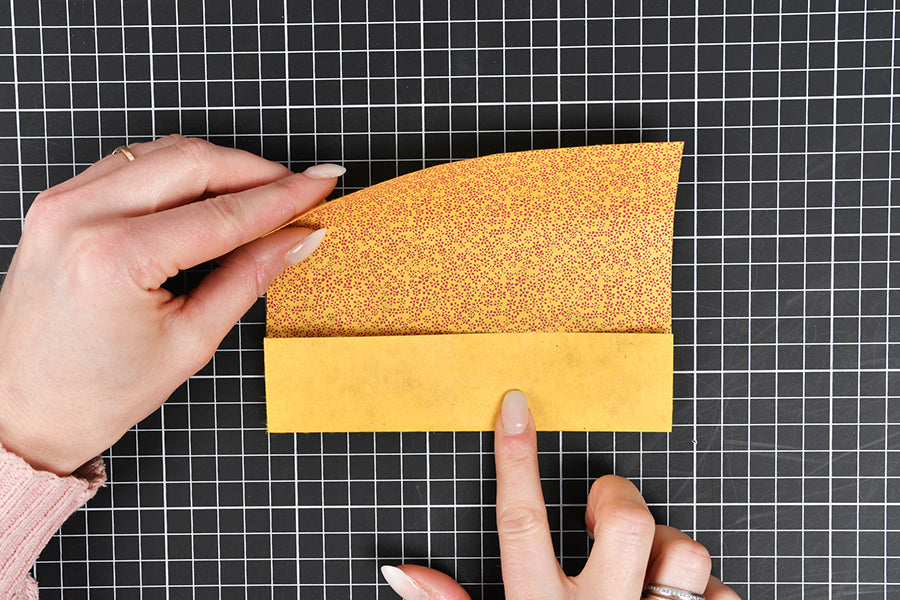
Step 1
The first step is to place the square in front of you and fold it in half horizontally.
Decide here what the bunny should look like. The side of the paper that is on the bottom will only be visible in the ears. What is visible at the top becomes all the remaining bunny.
We only want the bunny's ears to have a pattern, which is why it's down here.

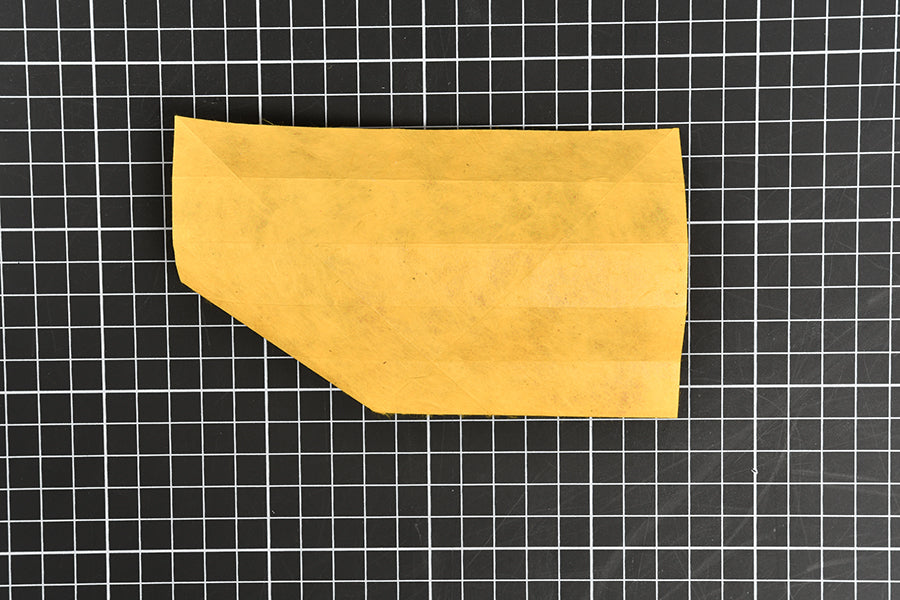
Then open and turn the sheet over. Bring the bottom and then the top side to the middle horizon line/fold line from above. Open the paper again and bring the outer, bottom side back to the nearest fold line.
You also do this at the top, then pinch the center line together again and lift the whole thing to the adjacent fold line at the top.


Now the bottom side is folded onto the top and after opening the paper you will have eight even sections.

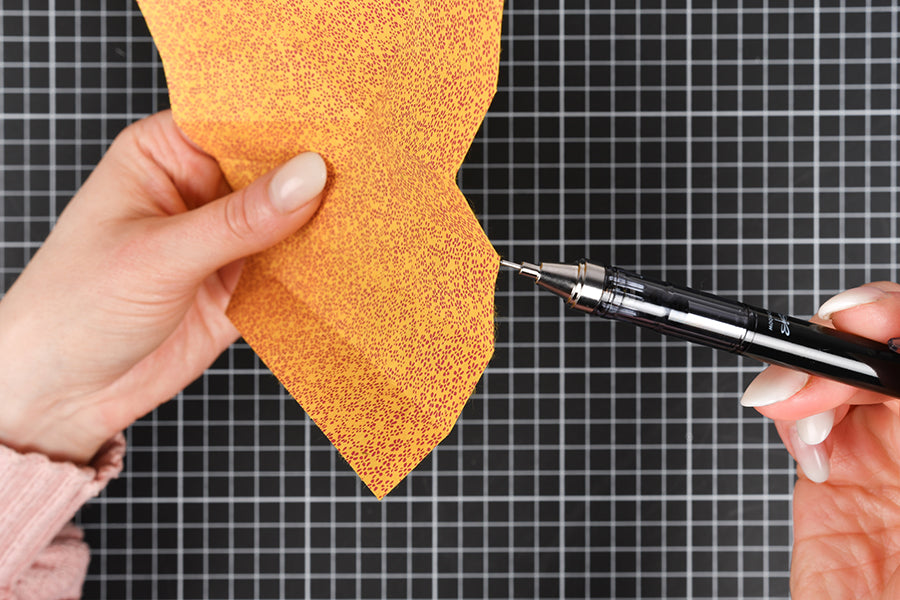
Step 2
In the second step, you place the square diagonally in front of you.
If your pattern was previously on top, it is now on the bottom. Then you fold it diagonally, the bottom tip onto the top tip and, after opening, the right tip onto the left tip too.


Once you have the paper lying straight in front of you again, fold it from bottom to top along the third fold line. Open the newly created lower right corner slightly until the diagonal can be placed again on the left, then press in until the middle of the triangle touches the second fold line at the top.


Step 3
Now the third step follows. Now turn the sheet with the folded corner at the bottom left. Now hold the lower part up to the first fold line and lift the page down from above, this will open the paper slightly. Now you adjust the tip at the top to the other tip at the top. These will be the rabbit's ears. Only fold the front left part correctly.


You now close the paper again as it was before, the tip on the left must be at the very top, on the other ear, so to speak.


Step 4
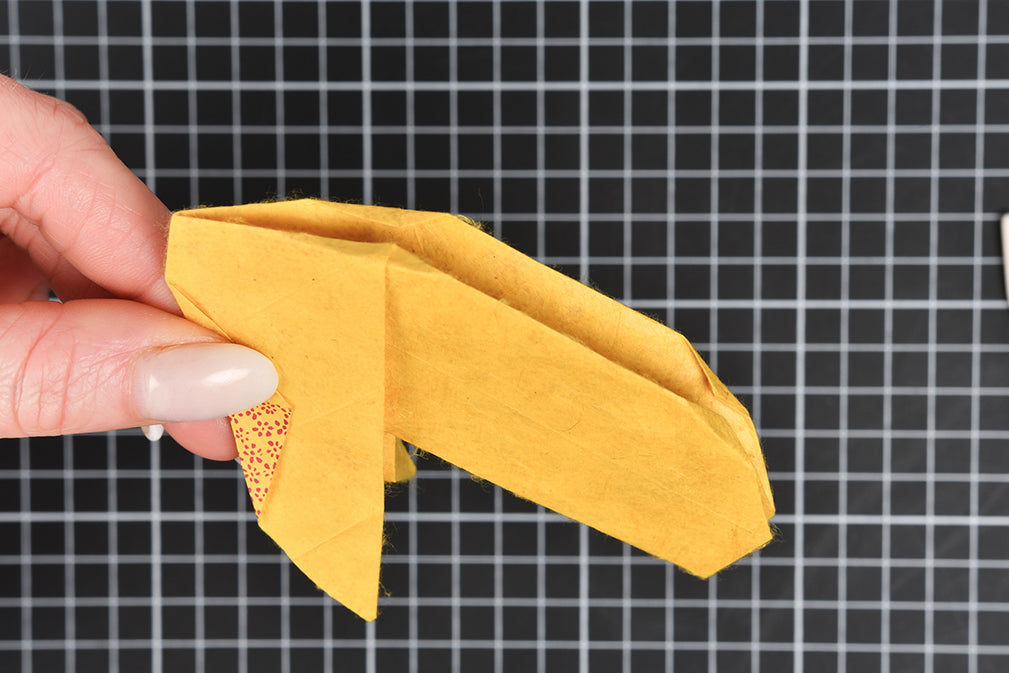
Step 4 shows your bunny from below.
You now fold the two tapering tips backwards along the existing fold lines and thus inwards. This will give the rabbit stability later.

Step 5
In step 5, turn the bunny upside down and work on the back side. Lift the top two layers at the back and fold the last piece inward.


Now open the rabbit slightly and fold the edge of the rabbit's back inwards as well. This creates an arrowhead on the ear that you press down. Now turn the rabbit over and repeat the steps from just on the other side.


Step 6
In step 6 you adjust the bunny's face.
First, the rabbit's head is pushed inwards at the front of the forehead. From the middle of the first fold line to the middle between the two vertical fold lines on the ear, fold over once.


Then you fold it over again, this time the same thickness as the already folded crease on the ear. This is approximately halfway from the tip of the snout to the next fold line into the ear. This will then bend into shape and be slightly rounded.


Step 7
In step 7 you work on a few details. At each of the four corners of the floor, bend a small corner inwards. This makes the rabbit a little rounder. And now the bunny can be pressed into shape. Gently go in with your finger and flatten the bottom. This opens its back pocket and there is definitely room for a pretty egg in it.


Of course, there are no limits to your imagination when it comes to decorating the bunny with ribbon, pendants, eyelets...
Finished bunnies

We hope you enjoy crafting.
From us for you ⭐
Jennifer
The instructions are subject to alexandraRenke's Angel Policy.
This can be found at www.alexandra-renke.com.
Alexandra Renke
51503 Rösrath, Germany
© alexandra-renke.com
All rights reserved.