Today we have another unusual packaging idea for you suitable for spring!
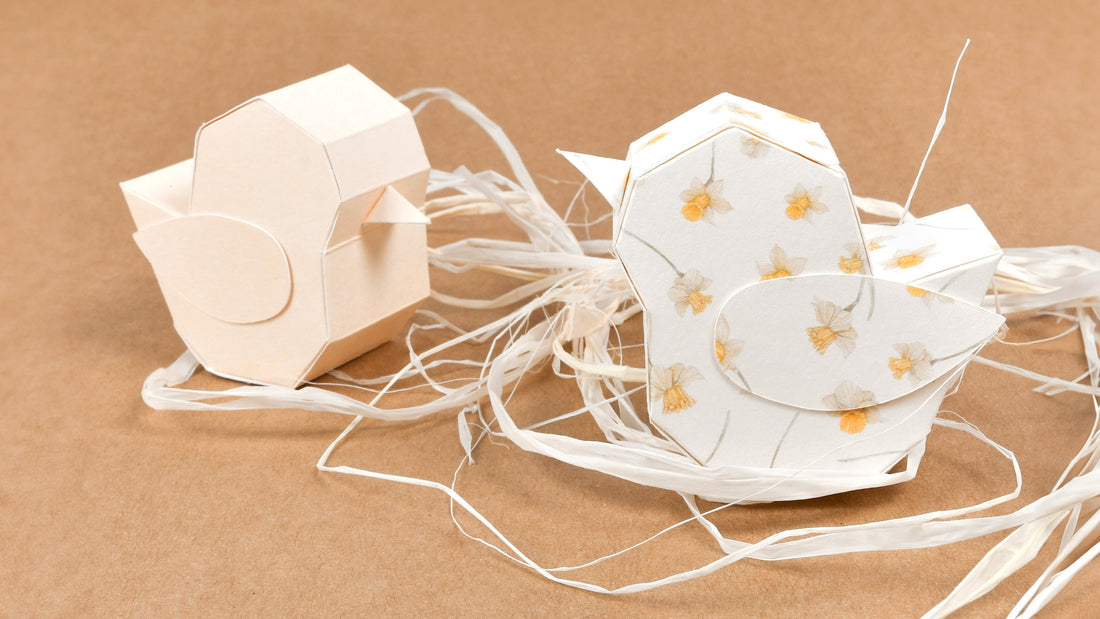
A sweet chick box in which you can give away wonderful little joys.
The box can be decorated and personalized as desired to make it even more magical.
What is needed for this is:
- Design paper (cut 17 x 25cm)
- Cutting and folding board
- Scissors
- Folding pen
- Bone Folder
- Pencil and eraser
- Ruler or set square
- Double-sided tape
- cutter

Step 1
The chick template
You print out the stencils on normal copy paper and place them on the selected design paper. After you have drawn around all the shapes, also mark the height at which the horizontal fold lines lie. This will give you clear guidelines for folding later.


Step 2
Cut out the shape
Now you can cut out the shapes and trace the fold lines using a ruler and a folding pen, for example. Don't forget the wings and the little beak.


You now have to cut the insertion slot with a cutter so that the tab can be inserted when folding. To do this, carefully cut along the marked line using a ruler to open the slot.

Step 3
Fold all the lines to make it easier for you to put the chick box together and then apply double-sided adhesive tape to the adhesive tabs (colored gray in the template).
Some are left out at the head because the chick can be opened there.
You can of course also use other glue, but we recommend adhesive tape as it sticks together immediately and there is no additional drying time.


Remember to put larger items in the box before gluing them together. This way you can ensure that they fit in easily and that you won't have any problems getting them into the box later due to the relatively small opening.
Now fold the box together by placing the long strip step by step around the chick shape. The best way to do this is to glue both sides of the chick synchronously and then the next row.
The insertion tab is not glued on, so the box can be easily opened later to get the hidden little thing out without having to break the box.


Step 4
Details and decoration
Add the wings and beak and your chick is ready - how cute!
Make sure you secure the pieces well enough so that they don't accidentally fall off.


We hope you enjoy crafting.
From us for you ⭐
Janine & Jennifer

The instructions are subject to alexandraRenke's Angel Policy.
This can be found at www.alexandra-renke.com.
Alexandra Renke
51503 Rösrath, Germany
© alexandra-renke.com
All rights reserved.